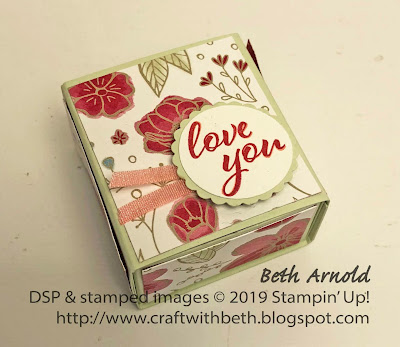
Thank you all so much for making the Catalog Launch Retreat Day such a wonderful day! It was a treat to stamp with you all! I hope you enjoyed the projects and the luncheon. My hope is that everyone will send me a photo of their finished Take and Make project. I am so excited to see your finished treat boxes!
In your Take and Make project bag you will have several pieces - a box base, a box cover, and 6 Designer Series Paper Mats - as well as two chocolate strawberry hearts, a piece of Flirty Flamingo ribbon, the scalloped circle, and the greeting circle you stamped at the party.
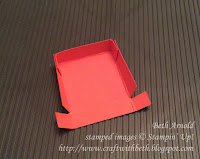
Start by assembling the box base. Cut from the bottom edge along the first score line up to where the next horizontal score line starts. Cut from the bottom edge along the rightmost score line up to where the next horizontal score line starts (the red lines on the template above). Rotate the box base 180 degrees and repeat cutting the red lines. To reduce bulkiness, cut and notch each of the side tabs. This will create four side tabs.
Fold and burnish all score lines. Add strong glue such as Tear and Tape or liquid glue to all four side tabs. Fold up each tab one by one and line them up with the corresponding long side to form the open topped box.
Adhere the short side mats to the short sides of the box base. The short sides of the box base are the sides that will show when the matchbox is closed.
Fold and burnish all of the score lines on the box cover. Add strong glue to the area between the edge of the cardstock and the 7/8" score line. Fold each side of the box cover towards you until you reach the area with the glue and adhere to the first scored section. This creates a rectangular tube to slide the box base into.
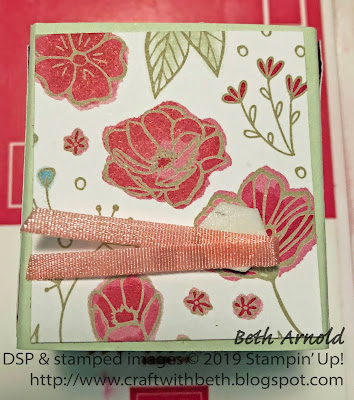
Adhere the top and bottom mats on the top of and on the bottom of the box cover. Adhere the long side mats to the long sides of the box cover. Allow the glue to dry.
Place the two chocolate hearts inside the box base. Slide the box base into the box cover.
Stamp "love you" with either Lovely Lipstick ink or Flirty Flamingo ink onto a scrap of Whisper White cardstock. Punch out the greeting with a 1" circle punch.
Punch out a 1-1/8" scalloped circle from a piece of Soft Sea Foam cardstock. Adhere the greeting circle to the center of the scalloped circle.
Add a dimensional to the top of the box cover in the lower right corner. Fold the Flirty Flamingo ribbon in half and stick the fold line on the dimensional.
Add the greeting circle on top of the dimensional and the ribbon. Your treat holder is now ready for gifting!
I hope you all had as wonderful of a day as I did on Saturday! Please let me know if you have any questions about your Take and Make projects. I am happy to help!
Thanks for stopping by!
Beth


No comments:
Post a Comment