Tuesday, February 21, 2017

New Sale-A-Bration Products Added!

Today, Stampin' Up! released three brand new gorgeous Sale-A-Bration products - two stamp sets and one paper pack!

http://su-media.s3.amazonaws.com/media/catalogs/Sale-A-Bration_2017/SAB_2017_2nd%20Release_US.pdf

Click on the image to download the 2nd Release Sale-A-Brations Catalog or click here.


Craft with Beth: Sale-A-Bration Second Release Reverse Words 2017

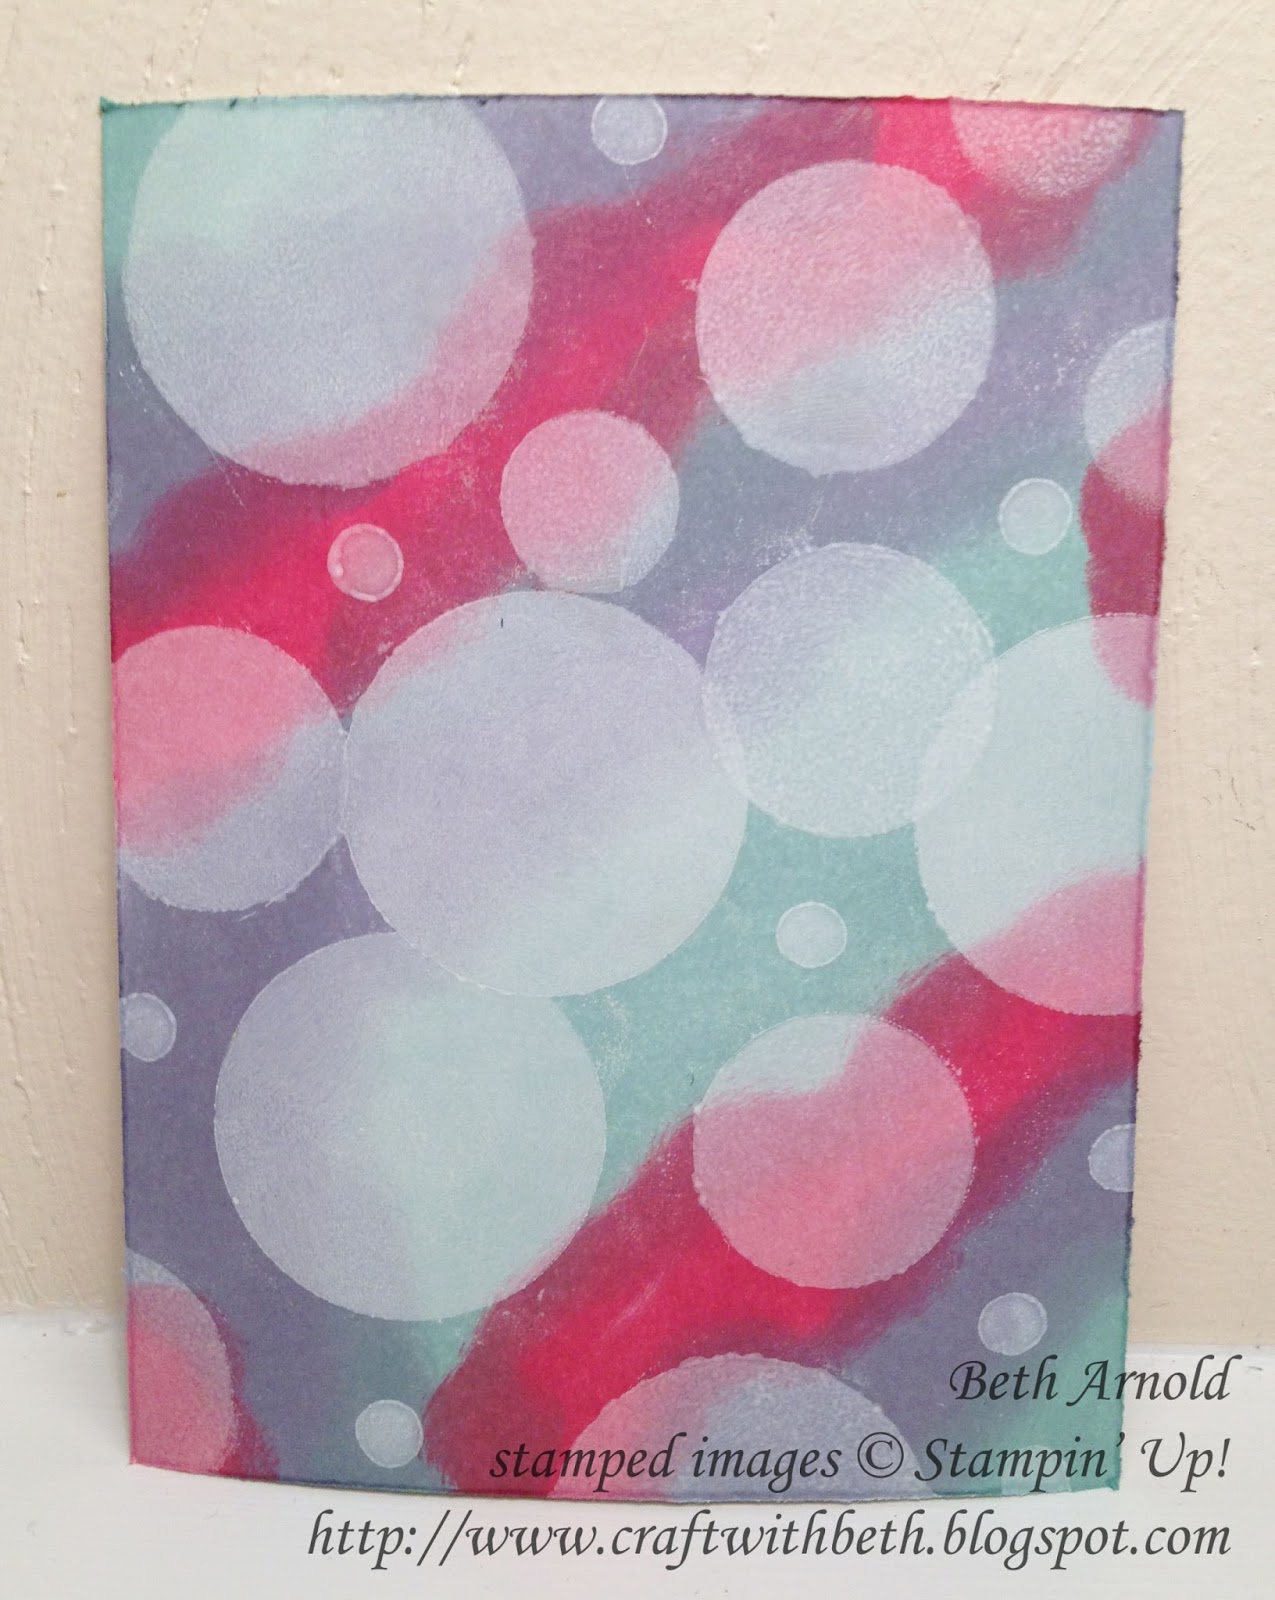
The first is a stamp set called Reverse Words (Item #143316 Wood-Mounted/Item #143319 Clear-Mounted). Reverse Words is a negative image stamp with a beautiful watercolor effect. These stamps remind me of an emboss resist using the Aquapainters and ink refills. The color wash effect is a delicate way to reveal the embossed greeting. Hooray and cheers are perfect greetings for any celebration, especially birthdays and promotions. I can see either hooray or cheers in the center of a card front with lots of sequins.

Craft with Beth: Sale-A-Bration Second Release Glimmer Paper Assortment Pack 2017

The second is a 6" by 6" pack of Assorted Glimmer Paper (item #143831). There are 12 sheets in total with 4 sheets each of Mint Macaron, Bermuda Bay, and Sweet Sugarplum. These colors go perfectly with the Oh, So Succulent, Falling in Love, and Cupcakes and Carousels Suites. Six inches is also the perfect sized paper for die cutting the stunning floral heart die from Bloomin' Hearts Thinlits (item #140621), both butterflies from Butterfly Thinlits (item #137360), all of the dragonflies from Detailed Dragonfly Thinlits (item #142749), Stylish Stems Thinlits (item #142750), and so many more dies ready for spring! How can you go wrong with sparkles!?


The third, but certainly not least, is a stamp set called Make A Medallion (item #143274). Make A Medallion is a two-step photopolymer stamp set that includes 8 stamps to build your own medallions. Layer the two largest medallions to form a more intricate design or use them separately. Trying stamping one medallion with ink and heat embossing the other for an elegant look. Then cut them out with the coordinating Layering Circles Framelits (item #141705). Either way, they look amazing!

Craft with Beth: Sale-A-Bration Second Release Make A Medallion 2017

Below are the item numbers for each of the new Sale-A-Bration Products.

Second Release 2017 Sale-A-Bration Products
Item #
Description
143316
Reverse Words Stamp Set (Wood-Mounted)
143319
Reverse Words Stamp Set (Clear-Mounted)
143274
Make A Medallion Stamp Set (Photopolymer)
144316
Tout  À L’envers
144285
Médaillon Sur Mesure
143831
6” x 6” Glimmer Paper Assortment

You can't purchase these fabulous goodies. You can earn them for FREE! Here’s the deal: for every $50 USD/$60 CAD you spend (before tax and shipping), you get a FREE Sale-A-Bration product. That means it’s the perfect time to purchase those products you’ve had your eye on while earning more products for free.

As a bonus, if you host a qualifying party with at least $250 US/$330 CAD in sales during Sale-A-Bration, you’ll earn $25 USD/$35 CAD more in Stampin’ Rewards!

Sale-A-Bration is one of my favorite times of the year to stock up on the basics and any retiring In Color products because you are rewarded with FREE Sale-A-Bration products and more Stampin' Rewards! I call that a win-win-win!

You can also download the 2nd Release Sale-A-Brations Catalog here. I hope you enjoy these new stamping goodies as much as I do! I'm looking forward to seeing your creations, especially with the new glimmer paper pack!

Please let me know if you have questions about Sale-A-Bration or if you would like to host your own Stampin' Up! workshop.

Thanks for stopping by!
Beth

Friday, February 17, 2017

Quick Tip: Glue Dot Tangle Got You Down?

Glue dots are one of my favorite ways to adhere. They are quick, strong, and not gooey. As an over-gluer, I appreciate that! However, after awhile the paper strip that holds my dear glue dots starts getting in my way. I found myself constantly getting tangled in the paper strip. I tear the extra off, but I wanted to find a better solution.
 
Craft with Beth: Glue Dots Got You Down? Glue Dot Quick Tip

The solution to keep your glue dot strip out of the way while you stamp only needs one item that you probably have in your house already - a twist tie!

Craft with Beth: Glue Dots Got You Down? Glue Dot Quick Tip


Simply, thread a twist tie around the glue dot roll.
 
Craft with Beth: Glue Dots Got You Down? Glue Dot Quick Tip

Next time you need a glue dot, slide the twist tie backwards to reveal the next one. The twist tie keeps the used strip in place. Tear off the excess paper strip as needed. No more mess.

Craft with Beth: Glue Dots Got You Down? Glue Dot Quick Tip


How do you tame the glue dot tangle? I would love to hear your suggestions!

Thanks for stopping by!
Beth

Wednesday, February 15, 2017

Bokeh Birthday Card

I'm so enchanted by the Falling in Love Designer Series Paper, especially the pieces with the Bokeh effect (2nd and 4th from the right are my favs)!

Craft with Beth: Falling Love Designer Series Paper

Bokeh is a photography effect that captures out of focus points of light. The lights look blurred and softened. It looks so sweet! Even romantic! Love it!


For this month's Technique Tuesday, we recreated the Bokeh effect. Here is one of the cards I created using the Balloon Adventures Stamp Set and Thinlit Bundle.

Craft with Beth: Bokeh Birthday Card Balloon Adventures #imbringingbirthdaysback Technique Tuesday

For the background, I used Wisteria Wonder, Pool Party, and Rose Red. I have been trying to vary my color palettes and use colors that I have not used recently. This color palette reminds me of growing up in the eighties/nineties. I loved pink, purple, and blue together.

Craft with Beth: Bokeh Birthday Card Balloon Adventures #imbringingbirthdaysback Technique Tuesday

On the inside of the card, I stamped the confetti image in Pool Party and the sentiment in Wisteria Wonder.

Here are some cards that the ladies made in my class. They did a fabulous job! I really like that everyone's cards are different. Gorgeous!

Craft with Beth: My students made this gorgeous Bokeh Birthday cards using the Balloon Adventure stamp set and thinlit set

Want to know what the next Technique Tuesday has in store? Contact me today to sign up!

Missed this month's class and want to learn the Bokeh technique? Contact me today to schedule a private class.

Thanks for stopping by!
Beth

Monday, February 13, 2017

Valentine's Mailbox Treat Holder

When I think of Valentine's Day, I think of giving chocolate! I think of the sweetness of the holiday too, but most of all the candy! Valentine's Day is a perfect day to give your loved ones a little sweet treat. What better way to give your special someone than this adorable mailbox treat holder?!?!

Craft with Beth: Sending Love Valentine Mailbox Treat Holder

I have been making bunches and bunches of these cuties for my family, friends, and my doctor's and dentist's offices. This is also one of the treat holders we made at my Valentine's Day class.

Let's get started! Cut your cardstock. You will need Whisper White and Blushing Bride cardstock.

 Craft with Beth: Sending Love Valentine Mailbox Treat Holder


Sending Love Mailbox Treat Holder Measurements

Color
Dimensions
Mailbox Base
Blushing Bride
3-1/2” x 1”
Mailbox Cover
Whisper White
4-5/8” x 1-1/4
Flag
Blushing Bride
1-1/4” x 1/4"
Flag Heart Embellishment
Whisper White
1” x 1” or small scrap
Teeny Tiny Heart
Whisper White
1” x 1” or small scrap

For the Flag Heart Embellishment, die cut the heart shape from the Sending Love Thinlits.

Score the Mailbox Base at 1-1/8" and at 2-3/8".

Craft with Beth: Sending Love Valentine Mailbox Treat Holder

Round the edges of both sides using the smallest circle die from the Layering Circles Framelits Collection. Insert one end of the Mailbox Base into the circle die so that the edge is barely on the cutting line on the die.

Craft with Beth: Sending Love Valentine Mailbox Treat Holder

Flip it over and run the Mailbox base through the Big Shot. Repeat on the other end. Now your Mailbox Base should look like a little bandage. Side this aside for now.

Craft with Beth: Sending Love Valentine Mailbox Treat Holder

Next score the Mailbox Cover at 5/8" and at 3-5/8".

Craft with Beth: Sending Love Valentine Mailbox Treat Holder

Stamp the Mailbox Cover with the heart medallion image in Blushing Bride ink in the center between the 2 score lines. Stamp the heart with the heart image with the small leaves and hearts in Blushing Bride ink.

Craft with Beth: Sending Love Valentine Mailbox Treat Holder

Put a strip of Tear and Tape on both ends on the back of the Mailbox Cover.

aft with Beth: Sending Love Valentine Mailbox Treat Holder

With your bone folder, curl the Mailbox Cover. This will make the shape of the mailbox.


Line up and adhere the 5/8" scored end of the Mailbox Cover with the edge of the Mailbox Base edge in the center of the score lines.

Craft with Beth: Sending Love Valentine Mailbox Treat Holder

Attach two chocolate nuggets together with a few glue dots. Then place them on the center of the Mailbox Base.


Wrap the Mailbox Cover around the nuggets and adhere the 3-5/8" score end to the underside of the Mailbox Base.

Craft with Beth: Sending Love Valentine Mailbox Treat Holder

Add a few glue dots to the back of the Mailbox base.

Craft with Beth: Sending Love Valentine Mailbox Treat Holder

Press the back of the Mailbox base up and adhere to the nuggets.

Craft with Beth: Sending Love Valentine Mailbox Treat Holder

Add glue dots to the base of the flag and the heart embellishment.


Stick the flag onto the side of the Mailbox Cover. Stick the heart embellishment on top of the flag. Punch a Whisper White heart from the Confetti Heart Punch and adhere to the open end of the Mailbox Base.


Once you make one mailbox, you will be quicker at each subsequent one.

For another variation, you can add a piece of patterned paper to the Mailbox Cover instead of just stamping it. Cut a 3" by 1" piece of Sending Love Designer Series Paper and adhere with Tear and Tape to the Mailbox Cover. Instead of a heart embellishment on the flag, cut a 1" by 3/4" piece of Whisper White and stamp it with the sending love image.

I hope you try this adorable treat holder! I would love to see what you create!

Thanks for stopping by!
Beth


Sending Love Mailbox Treat Holder Project Supply List
Stamps
#144705 Sending Love Bundle
Paper
#100730 Whisper White
#131198 Blushing Bride
Ink
#131172 Blushing Bride
Embellishments
Chocolate Nuggets
Tools
#143263 Big Shot
#126199 Stampin’ Pierce Mat
#126889 Stampin’ Trimmer
#141705 Layering Circles Framelits
#137415 Heart Confetti Punch
#103683 Glue Dots